The second shot that I was required to composite was the 19th shot of the piece; this largely involved applying shadows to the scene, so that the creature would blend in with the various shades. Here is the original live action footage.
In order to integrate this creature into this footage, I opened the 3D blockout that was lighted by Matt and had the creature animated by Will.
The idea was to render the creature's running separately to the shadows. How I did this was by selecting the lambert textured surfaces that made up the wall and floor, and then assigning them to a separate rendering layer.
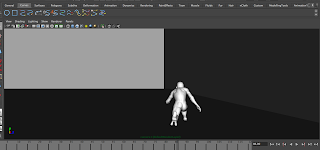
This layer was called layer1. I turned this layer off and rendered only the masterLayer that included the creature. I rendered the creature's run in mental ray as we had agreed as a group, here is a still from the batch render.
Next, I turned off the masterLayer and turned on Layer 1. I assigned a material to the surfaces called 'Use Background', which meant that they would not be visible, but that they would still pick up the shadows of the creature and the wall. I rendered this using Maya Software, because mental ray was not capable of rendering the shadows out properly. Here is a shot of the rendered shadows.
The next stage was to import these two into After Effects against the live action footage.
I scaled down the rendered sequences of both the creature and shadows so that the shadow is aligned with the building to the right and so the creature can run through the scene. I made sure both the shadow layer and creature layer were positioned and scaled identically.
The rendered images were initially too small within the live action, meaning that the creature just randomly appeared on screen rather than creating the illusion of the creature running on screen. In order to fix this, I just scaled up the live action footage and CG footage so that the creature seemed to run on screen and into the shade of the council estate.
Next, I needed to amend the shadows; they were initially too solid to be considered shadows, so I applied a Gaussian Blur to make them more natural. Finally, I discovered that the shadow of the creature was coming out white, so to amend this, I applied a Set Channel and changed all the settings to Alpha so that it was a darker grey colour.
Here is the final, fully composited shot of the chase.


No comments:
Post a Comment